| Application | General | Place of Origin | ShenZhen, China |
|---|---|---|---|
| Power | Pneumatic | Customized support | OEM, ODM |
| Warranty | 3 years | Model Number | HKJ-240028 |
| Temperature of Media | High Temperature, Low Temperature, Medium Temperature, Normal Temperature | Brand Name | YM |
| Media | Water Oil Gas | Standard or Nonstandard | Standad |
Product Overview
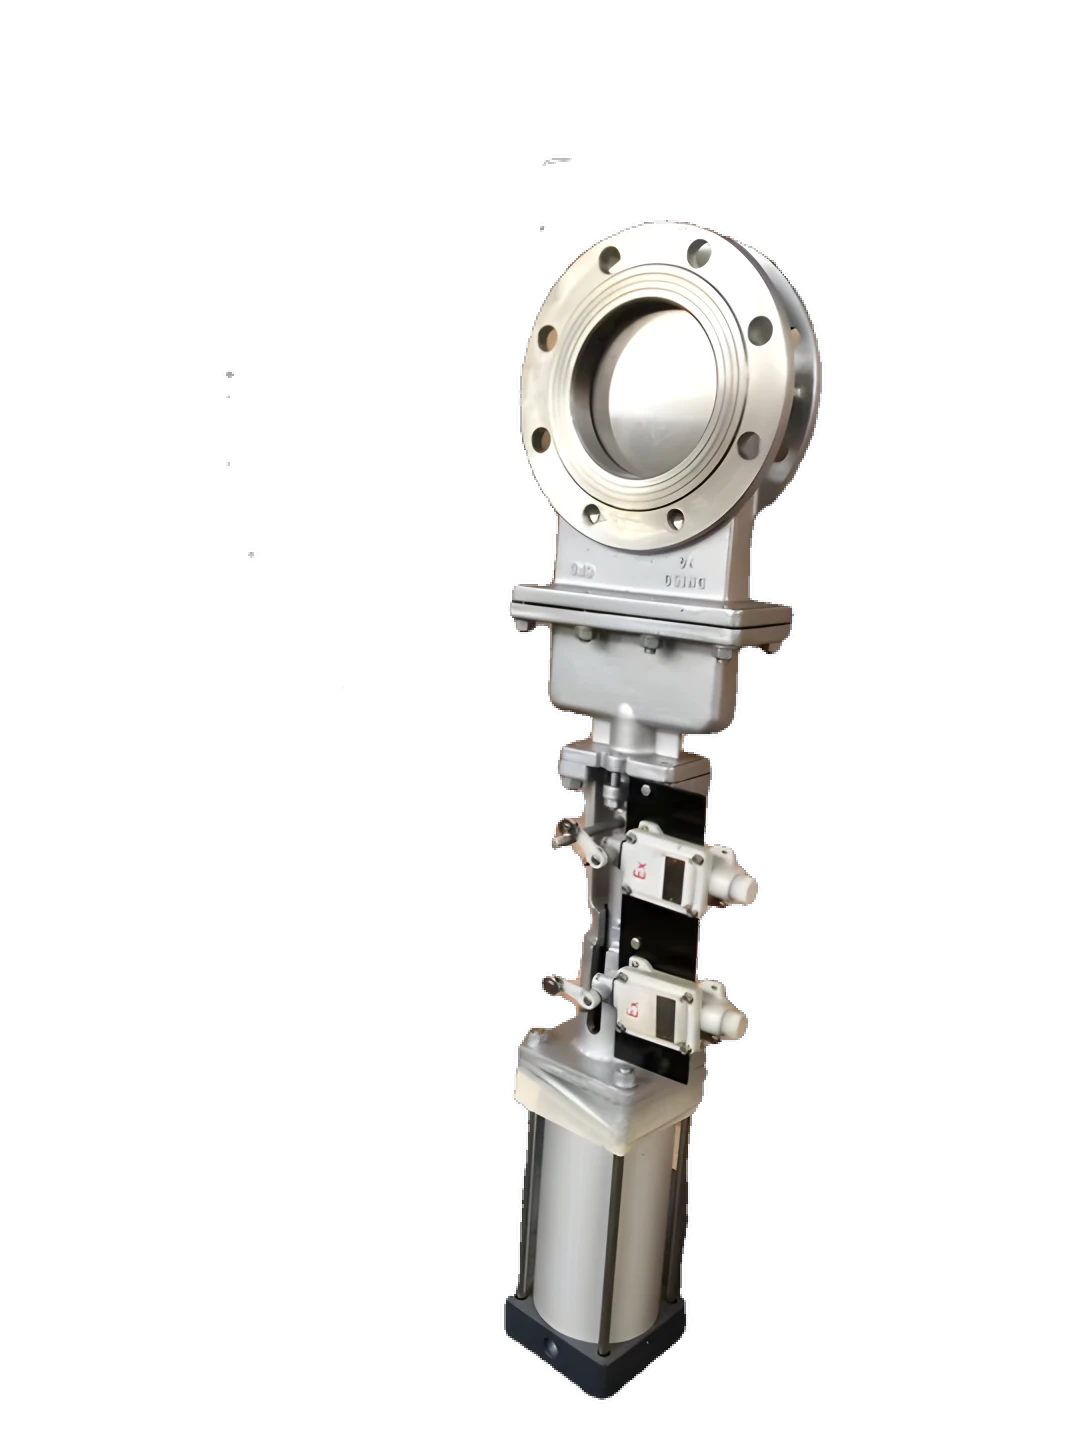
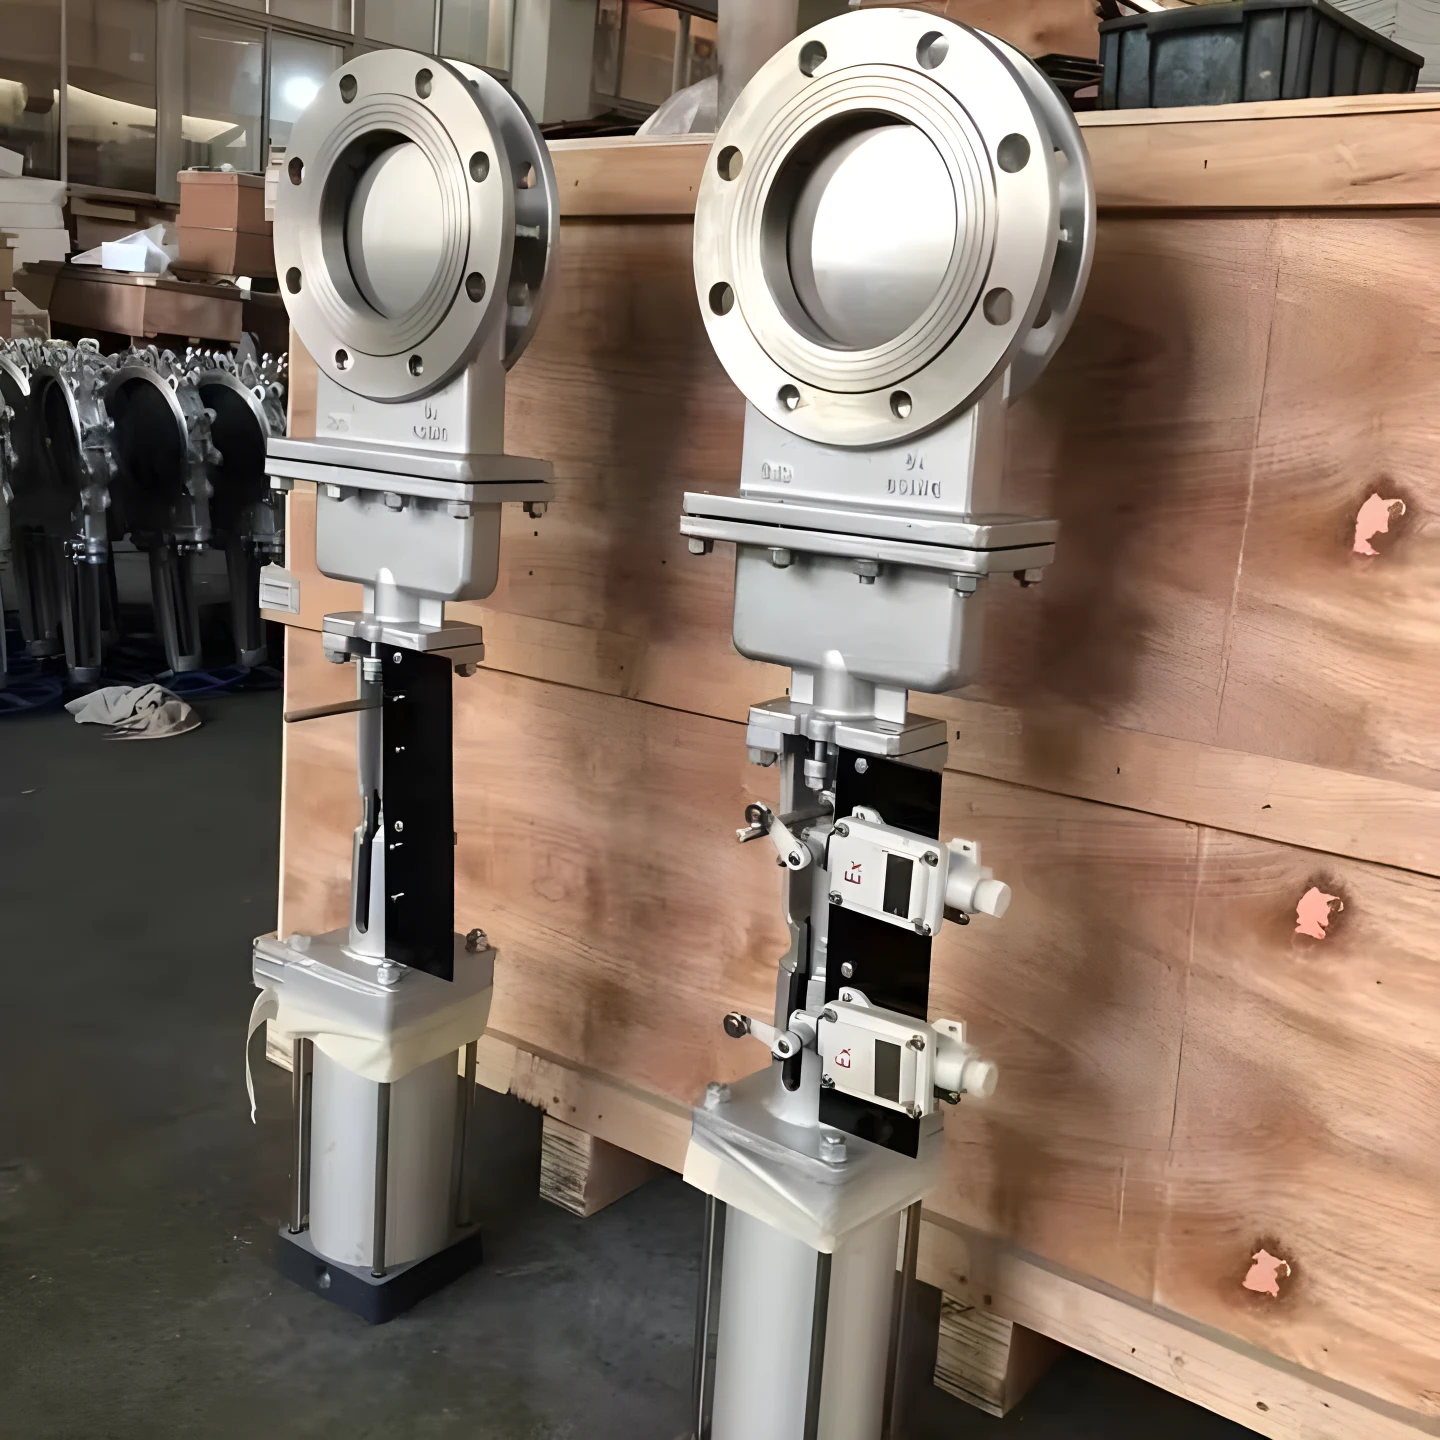
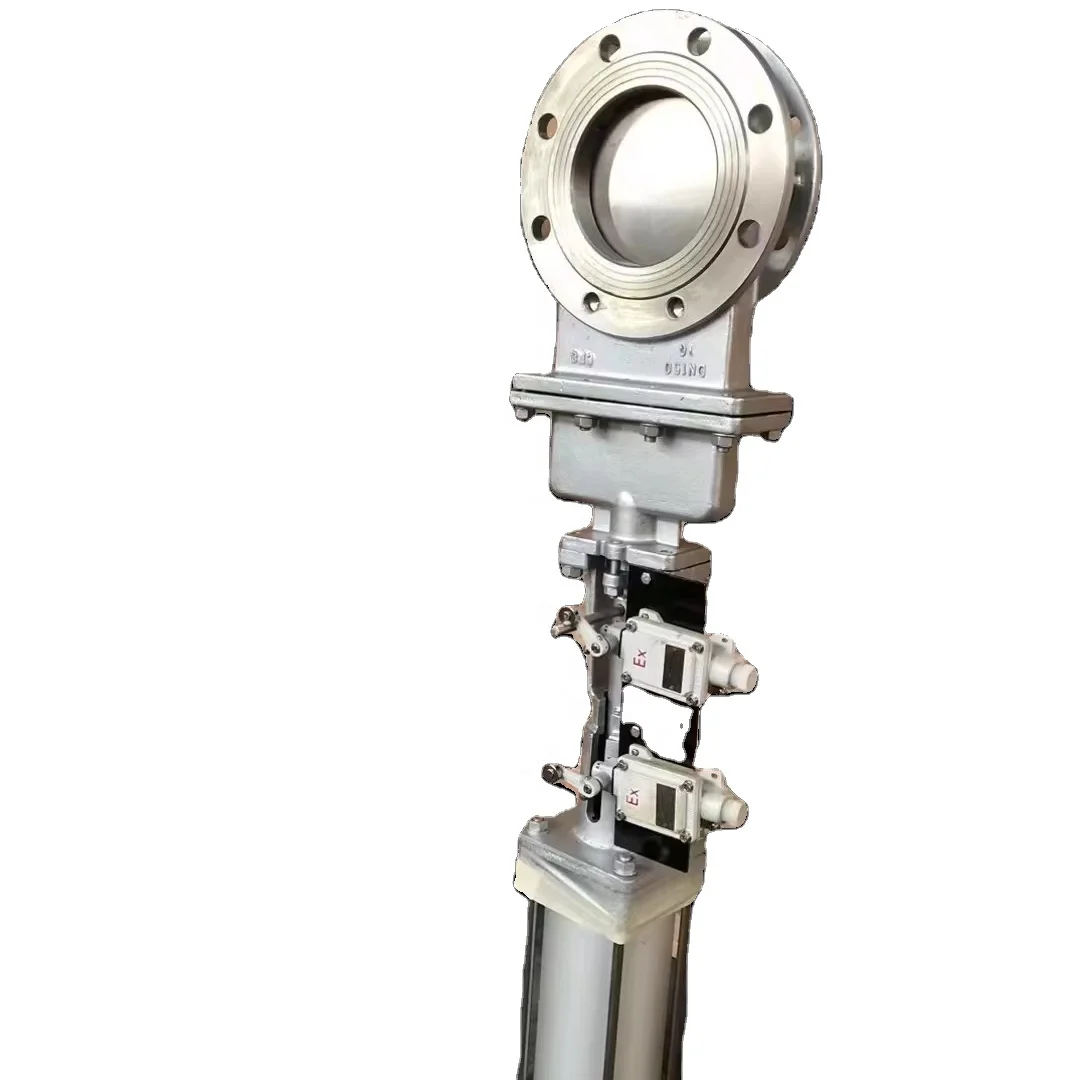
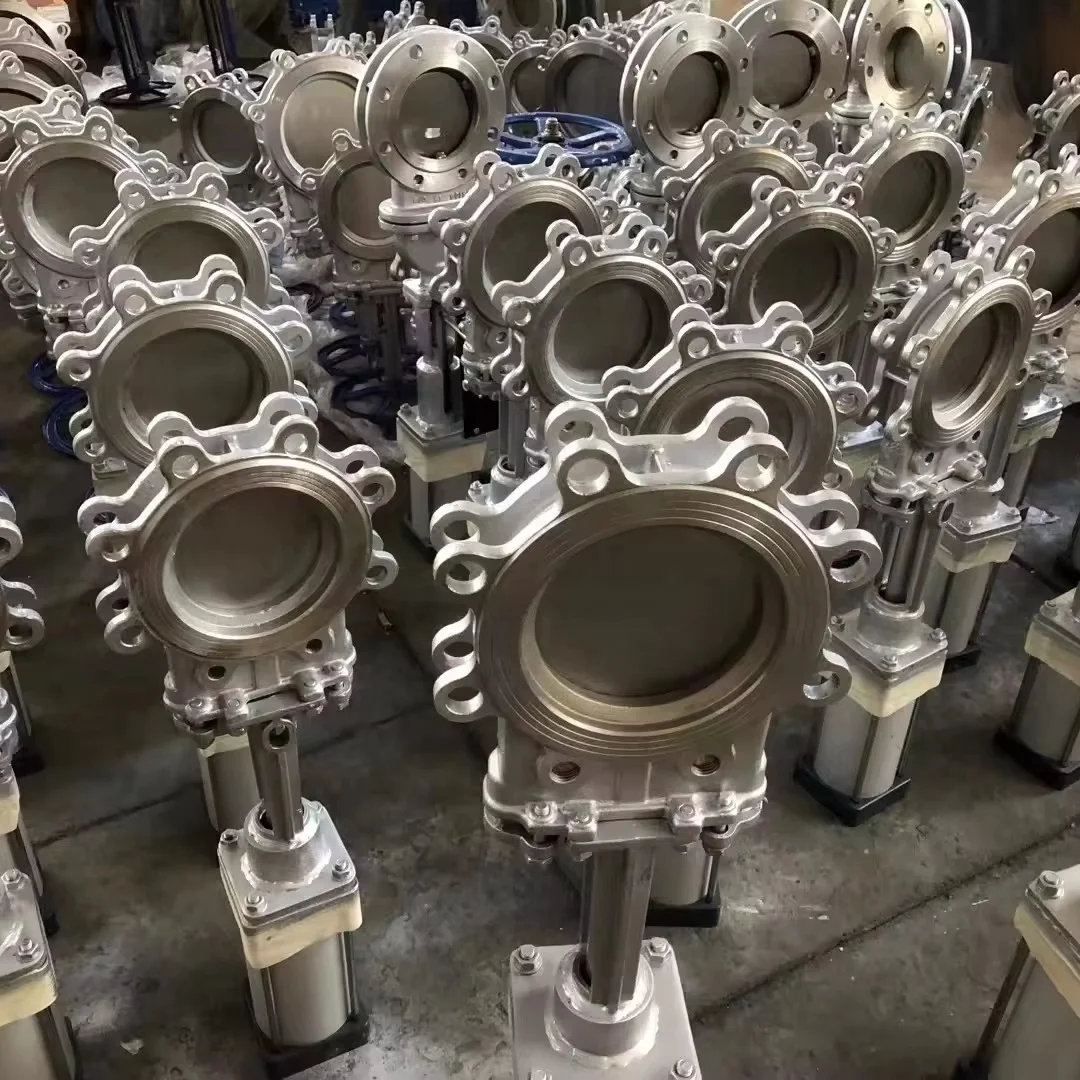
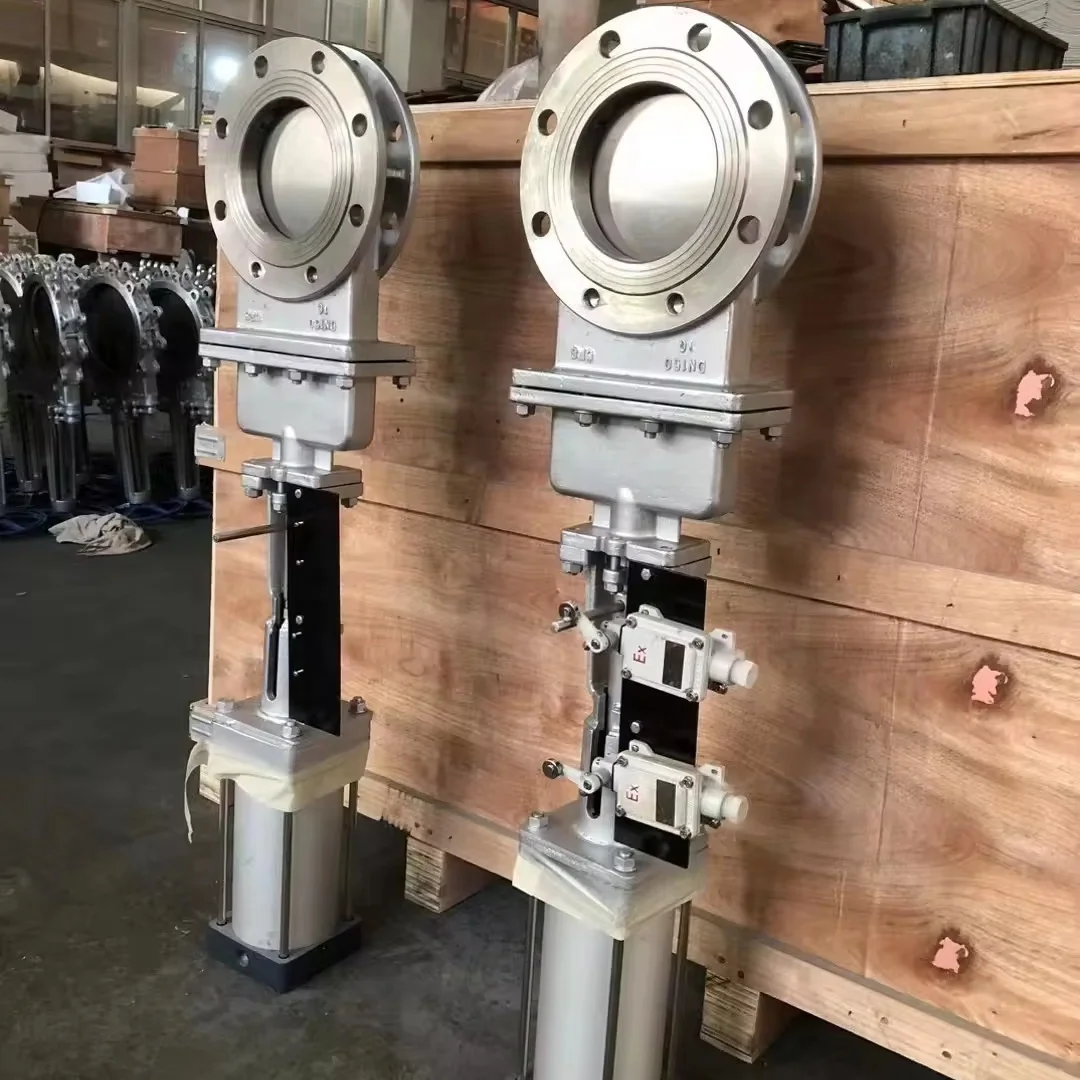
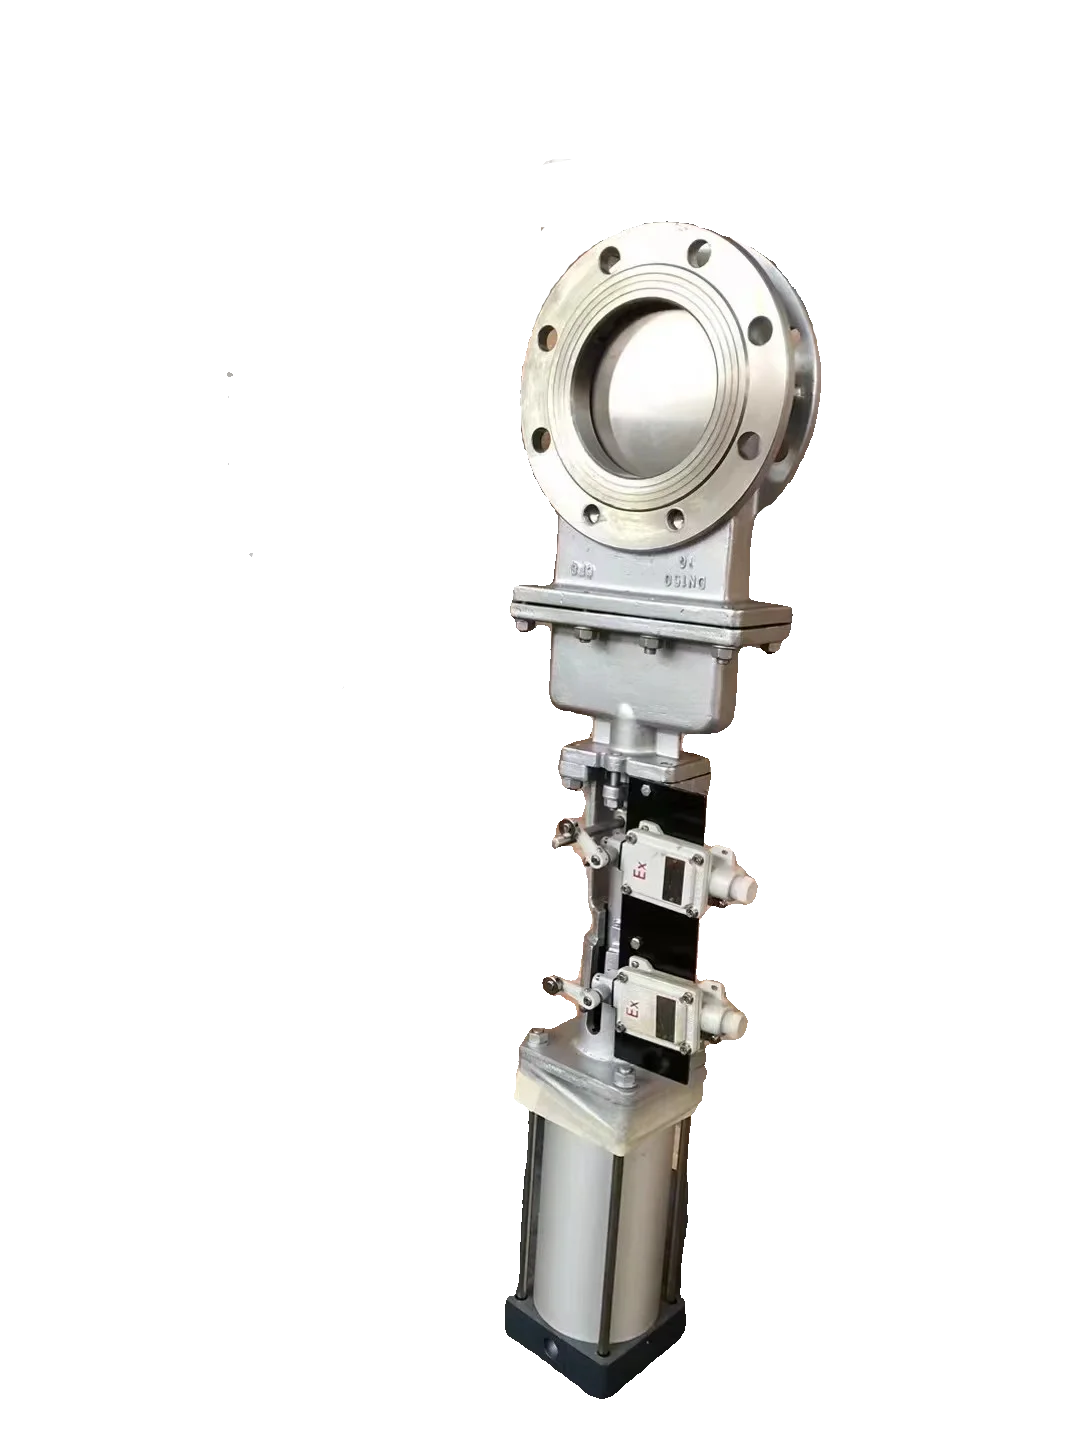
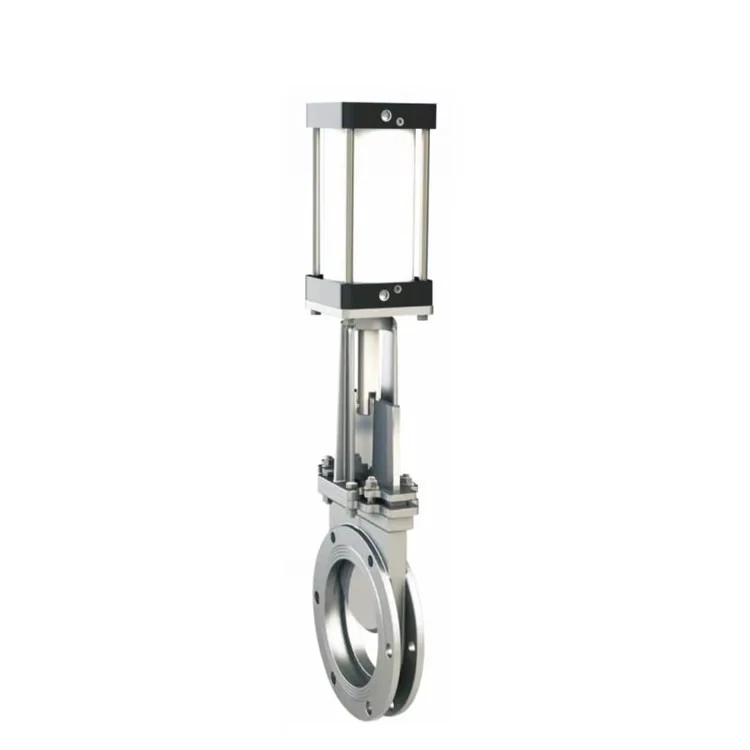
This valve is engineered for robust performance in demanding environments, featuring a pneumatic actuator for efficient automation.
Features
- Pneumatic actuator for automated control
- Carbon steel construction for strength and durability
- Flanged connection for secure installation
- Designed for handling various fluids and slurries
Technical Specifications
| Parameter | Specification |
|---|---|
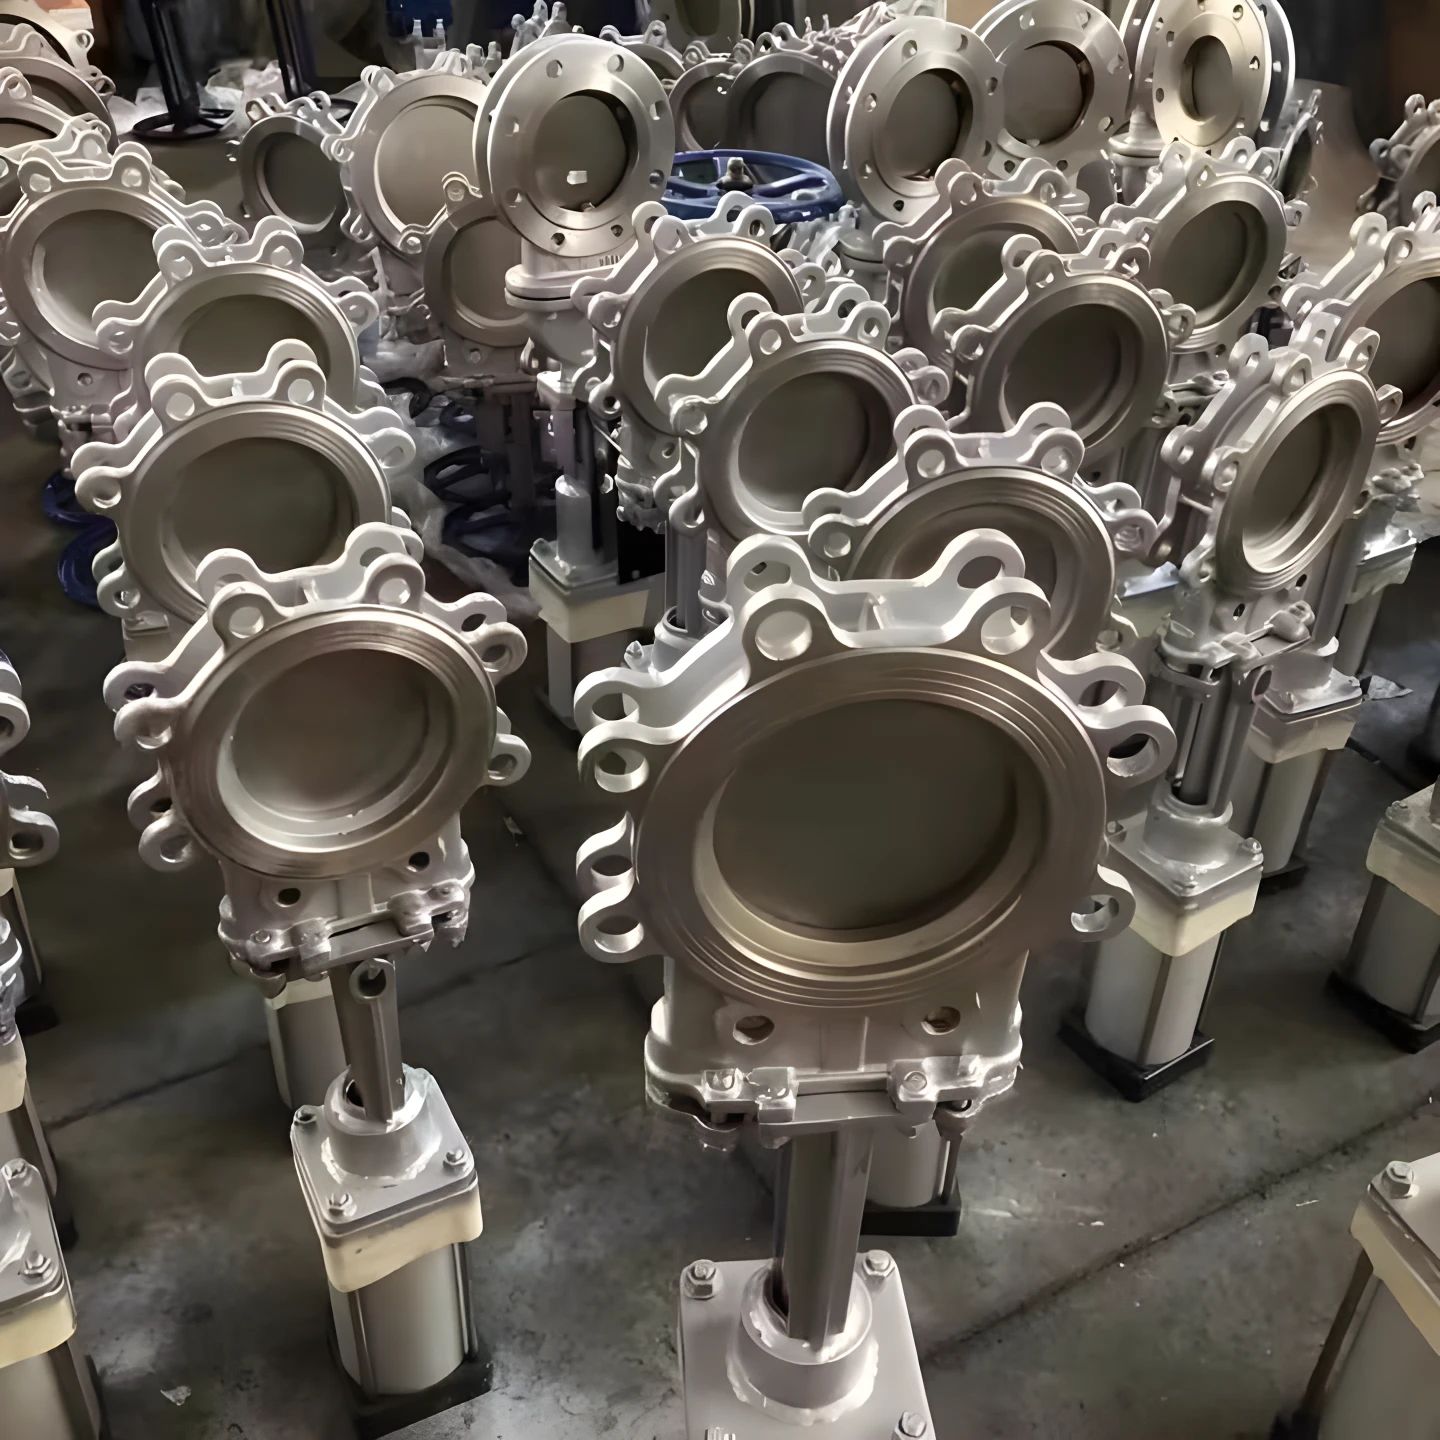
| Valve Type | Knife Gate Valve |
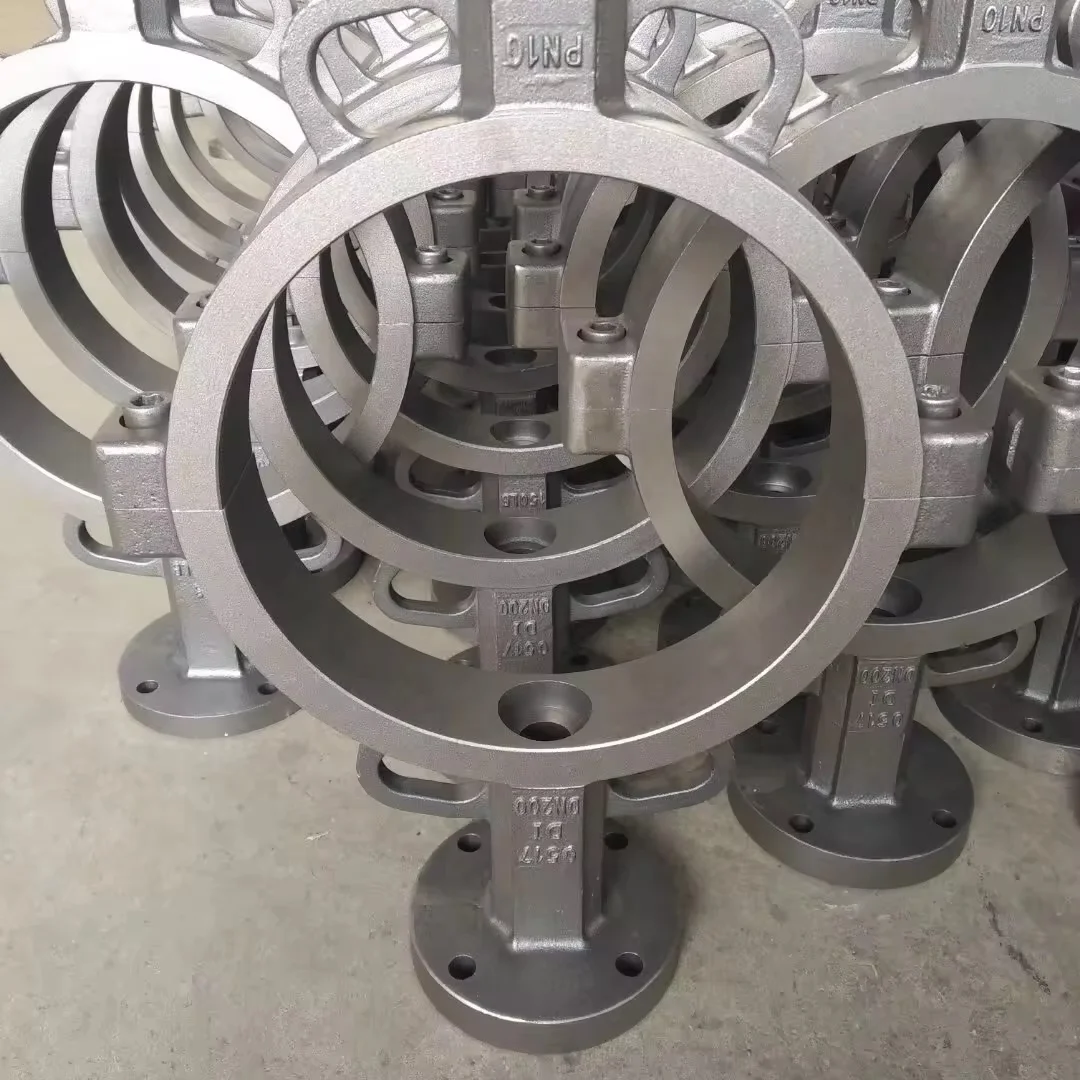
| Body Material | Carbon Steel |
| Operation | Pneumatic |
| Connection Type | Flanged |
| Pressure Rating | PN10/16 |
| Temperature Range | -20°C to 120°C (-4°F to 248°F) |
| Size | As specified |
| Seal Material | Reinforced Rubber or Metal |
| Leakage Rate | Minimal leakage |
Installation Instructions
Preparation: Ensure the pipeline is clean and free from debris. Verify flange compatibility.
Mounting: Align the valve with the pipeline flanges. Use appropriate gaskets and bolts to secure the valve. Tighten bolts in a criss-cross pattern for even pressure distribution.
Pneumatic Connection: Connect the pneumatic actuator to the air supply according to the manufacturer's specifications. Ensure all connections are secure and leak-free.
Inspection: Test the actuator to ensure smooth operation and check for any obstructions in the valve.
Operation Guidelines
- Opening/Closing: Use the control system to operate the pneumatic actuator for opening and closing the valve.
- Flow Control: Ensure the valve is fully open or closed to prevent partial obstruction and ensure optimal flow control.
Maintenance
- Regular Inspection: Perform regular inspections for signs of wear or damage. Ensure the actuator and valve components are in good condition.
- Seal Maintenance: Inspect seals periodically and replace if necessary to maintain tight sealing and prevent leakage.
- Cleaning: Keep the valve and actuator clean and free from external contaminants to ensure smooth operation.
Safety Precautions
- Always disconnect the air supply before performing any maintenance or inspection.
- Use appropriate personal protective equipment (PPE) during installation and maintenance.
- Ensure all personnel are trained in valve operation and safety protocols.
Troubleshooting
| Issue | Possible Cause | Solution |
|---|---|---|
| Valve does not open/close | Air supply issue or obstruction | Check air supply and clear obstruction |
| Leakage | Worn or damaged seal | Replace the seal |
| Actuator malfunction | Pneumatic fault | Inspect connections and air lines |
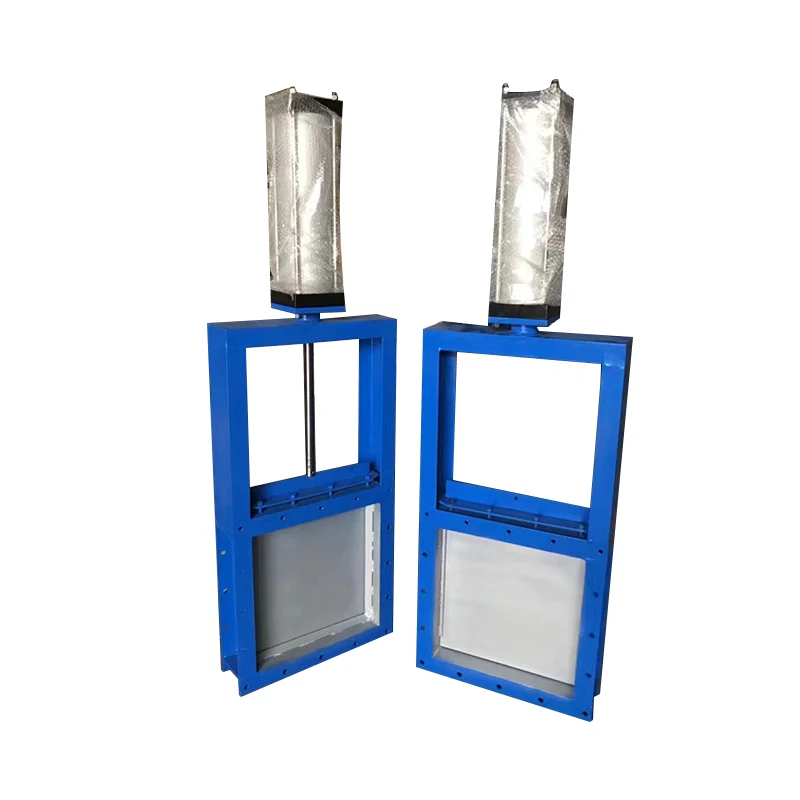
Product Show
